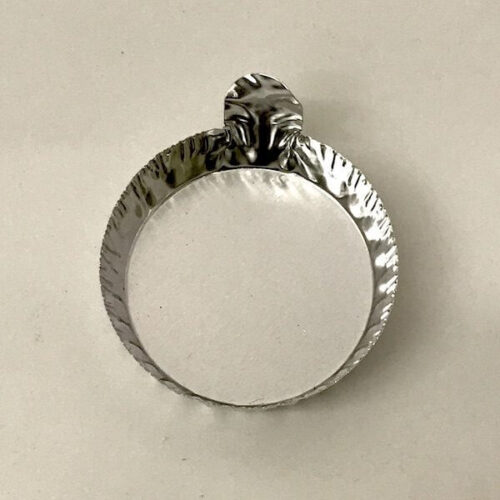
Seed starting with soil blocking from beginning to end
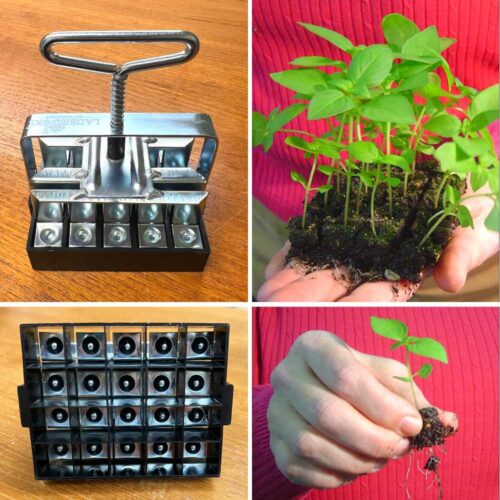
We use the soil blocking method of seed starting. My experience has been that once equipped with a soil blocker tool, all you add each year are seeds and blocking mix. What drew my initial interest was that 40 blocked plants fit on a 5” x 7” tray and watering is self-contained, a perfect fit for starting seeds in a home. More seeds sprout because of the ideal growing environment. The healthy transplant produced using soil blocking outperforms other methods.

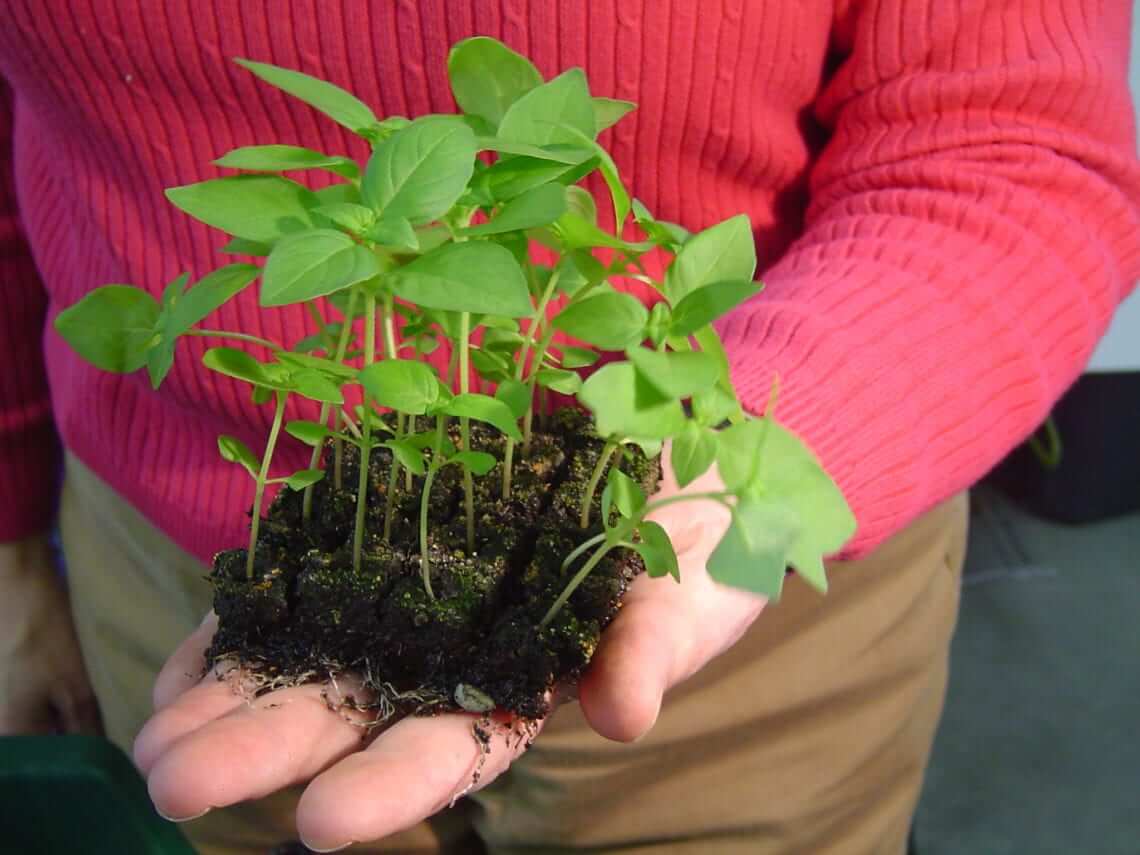
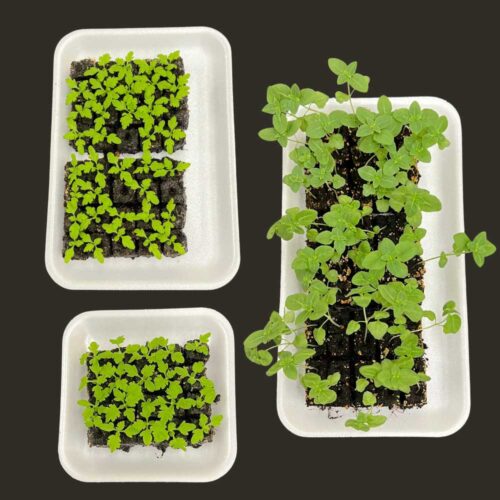
A cluster of 20 lemon basil seedlings in mini blocks.
Caring for seedlings
Regardless of the method used to start the seeds, they all require basically the same growing conditions to sprout and grow into a healthy transplant.
- Water the seeds daily allowing the soil mix to become almost dry between watering. If your blocks are staying moist 24/7, the room temperature should be increased to encourage vegetative growth and to help prevent algae and mold from growing.
- To get more seeds to sprout, use a seedling heat mat. Most seeds sprout at 70 to 85 degrees; while most homes are 70 degrees, the mass of soil you plant the seed in is 15-20 degrees cooler than the surrounding air temperature. So, 70-degree house equals 55 -degree soil. Cool soil is the leading cause of failure due to few or no seeds sprouting. The seedling heat mat has a built-in thermostat that keeps the trays 15-20 degrees warmer than the surrounding room temperature. When you use a heat mat, more seeds will sprout and more quickly. Once 50% of the seeds sprout, move from the heat mat to light. The mat can support 120 soil blocks at a time.
- Seedlings need 16 hours of light a day to grow into a strong plant. 16 hours of daylight are not available from natural light. When plants do not get the necessary light they begin to stretch and search for light which leads to tall leggy plants with faded foliage. Using a tabletop grow light with a timer, you can provide 16 hours of light. Our 4-6” transplants grown under lights would be over 18 inches or more without it—and not in a healthy way. The tabletop grow light uses a space 12” x 24” and can support up to 120 soil blocked plants at a time.
- Once sprouted, feed plants with liquid organic fertilizer weekly to encourage healthy growing. Use Seaweed/ Fish fertilizer according to directions in your watering once a week while growing indoors and continue once planted in the garden. In the garden, using a watering can to sprinkle the foliage as well as pouring on the soil. Sprinkling the foliage is called foliar feeding and adds fabulous disease and pest resistance to your plants.
- Start a fungus gnat prevention program as soon as the first seeds are started. Fungus gnats, are tiny annoying fly like insects are a realty when you have moist soil indoors. To control and help prevent an infestation use Gnatrol in your watering can once a week to kill the larvae and yellow Sticky Traps to capture adults.
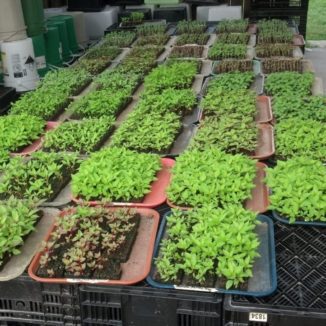
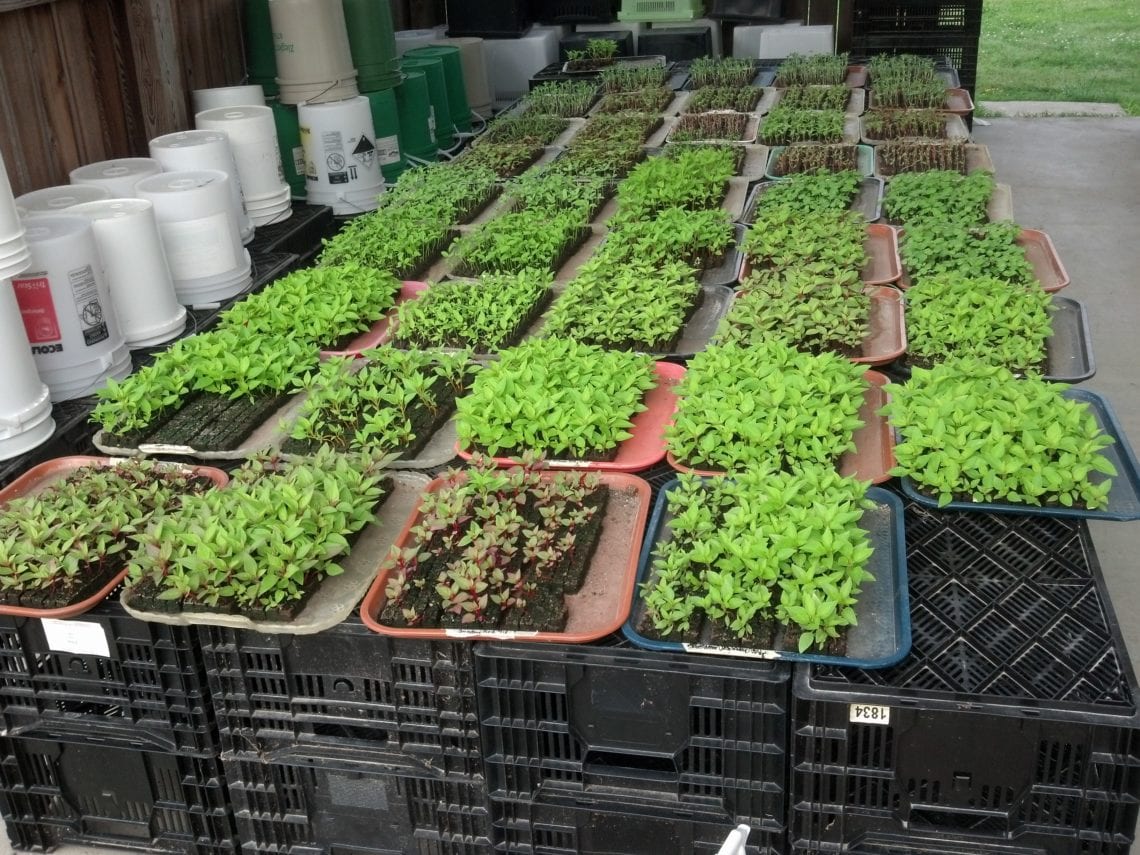
Our carport full of seedlings hardening off.
- Moving the seedlings outdoors is called hardening off. This process gently acclimates your plants to sun, wind, cool temperatures, or heat before being planted out in the garden. We place our trays of blocks out under the covered porch for about a week before planting in the garden. This allows them to get early morning sun and wind to toughen them up.
- For fast efficient planting, mulch first. Mulch the area to be planted by either laying overlapping layers of wet newspaper topped with bark, pine straw, or shredded leaves or like we do in our larger commercial beds we cover the beds with Bio360 the black biodegradable film. Both newspaper and Bio360 breakdown and can be incorporated into the soil safely at replanting. After planting the seedlings, water in well and give 1 inch of water a week if rain fall doesn’t provide.
- Cover with a floating row cover once planted in the garden for about 14 days. This adds a level of protection that protects your plants from the elements and marauding wildlife. Row cover allows air, water and light to pass through, but prevents drying winds, bright sun and rabbits, squirrels and deer from damaging your transplants. Row cover eliminates the anxiety of what might happen to plants once planted.

When you start from seed—you never know what you may grow into!
Once you master seed starting, anything is possible in your garden. You can grow all those plants not available down at the garden center and you will join the ranks of the proud seed starters!
Checkout our seed-starting supplies.
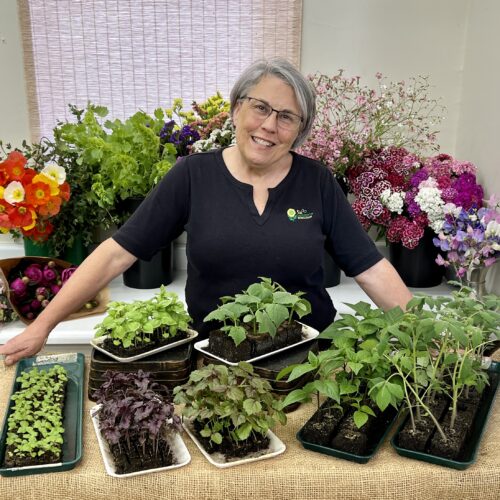
Lisa Mason Ziegler is the founder of The Gardener’s Workshop and Flower Farming School Online.
Award-winning Author of Vegetables Love Flowers, and Cool Flowers. Watch Lisa’s Story Listen to Lisa’s Podcast and view her Blog Field & Garden. Connect with Lisa on Facebook and Instagram!