0
Items
$0.00
Fall gardening offers unexpected gifts. It is like a savings account or investment, do the work today and reap the bounty later. While spring and summer gardening have their own benefits--fall is invigorating for me. Temperatures have cooled off, leaves are changing...
A winter morning walk in my garden reveals so much. As I stroll, I find myself stopping, standing, and watching more than walking. This chilly morning there is no wind, so much is going on. To the naked eye my place looks pretty barren compared to summer when it is...
I always feel like I can’t count on January. I just never know what to expect and this year is proving to be no different. We have gone from 70 degrees the end of December straight to sleet, snow and ice in January. Its tough enough to know what to wear each day--but...
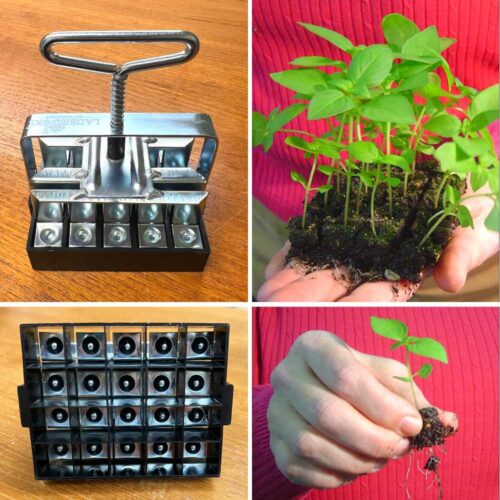
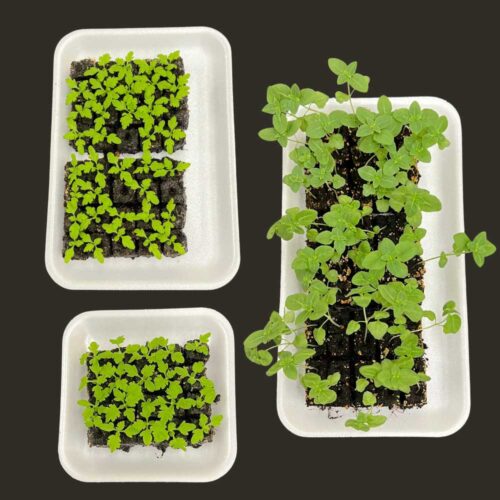
Leaf Week 2015 is on! November is always a good month on the farm for me. While it brings the end to the season, it also is full of planning and planting for spring. I am harvesting the bounty of fall, planting for spring and thinking of next summer. There is no...
Large bulbs lead to more stems, bigger flowers and many buds. Growing Amaryllis is much easier than it would appear. I think the beauty of the blooms literally scares people from growing them. But let me share the secret– the flower is in the bulb when you buy it and...